
AFTER
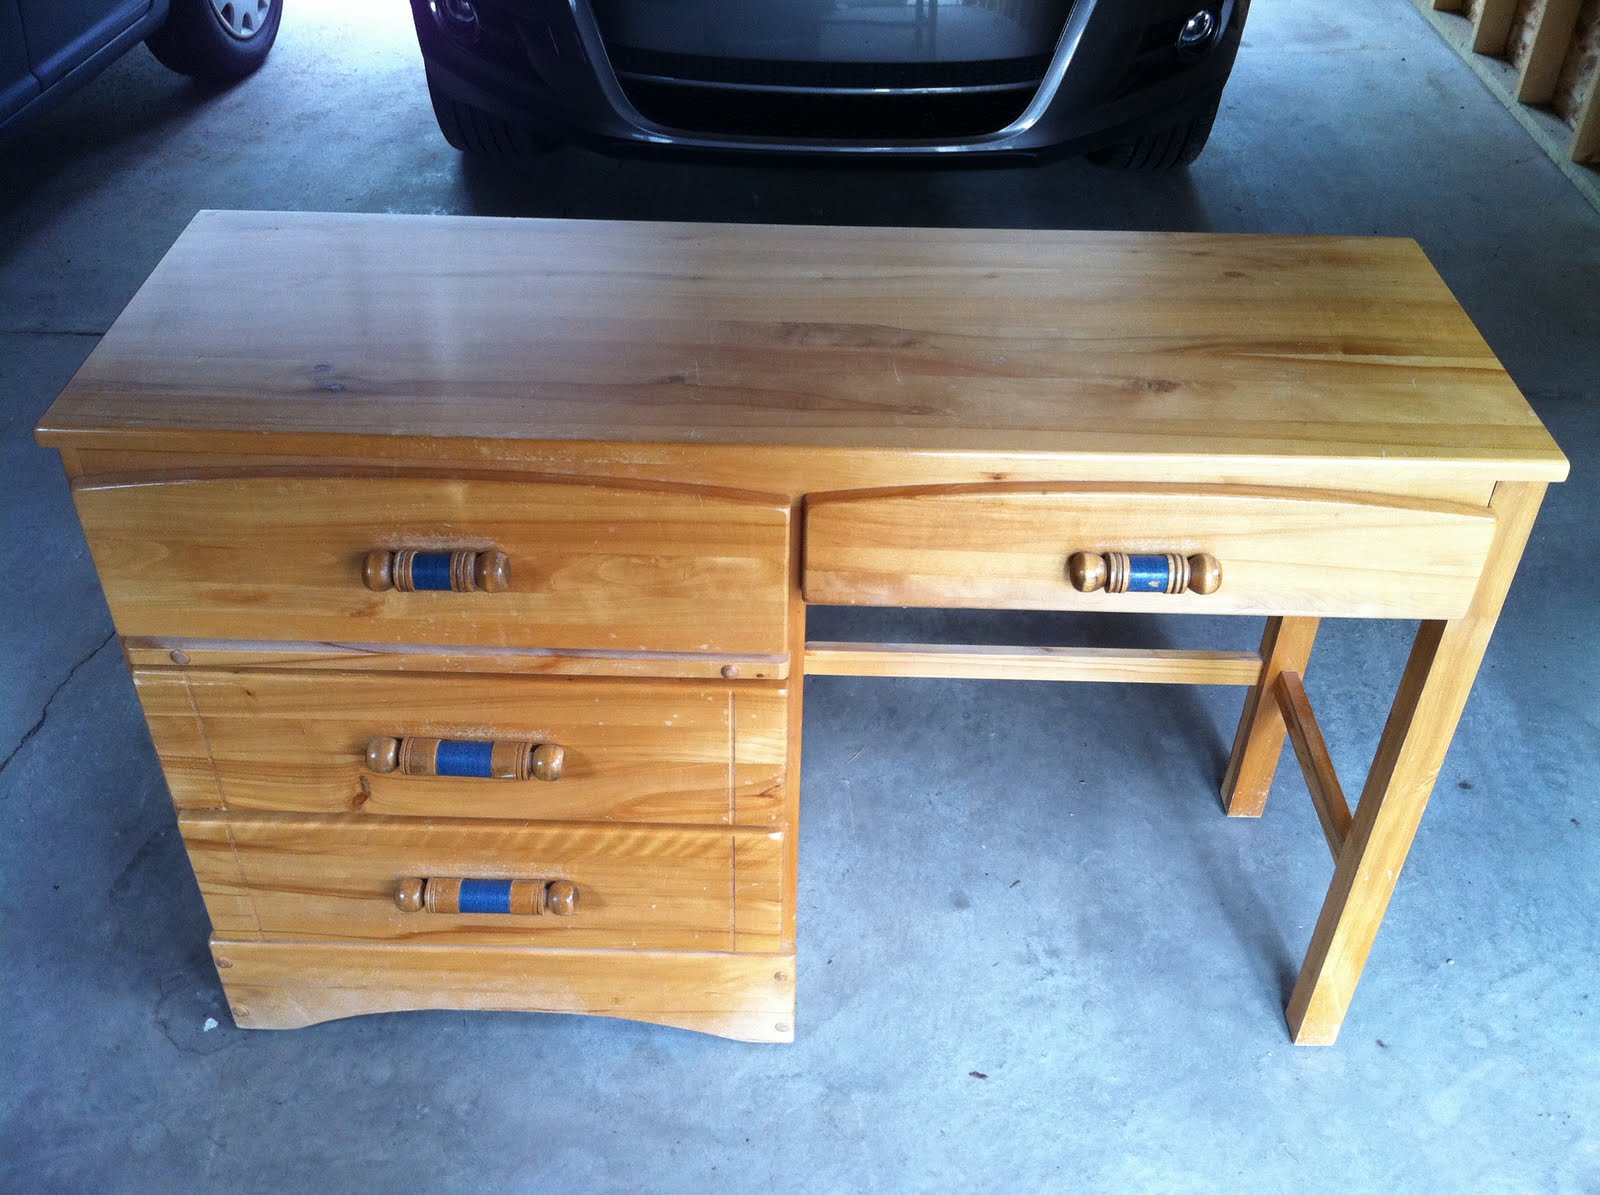 BEFORE
I purchased this Wood (pine) desk from Kijiji $15. What a find!
Step 1: Remove all hardware and knobs/handles. Sand/strip off all wood varnish/sealant. It is important to remove all varnish or the paint won't attach properly.

Step 2: I used a chalkboard spray paint on the top - just for doodles :) Using painters tape - I created a 2-3" boarder that will be painted later. Then sprayed the top with the chalkboard spray paint (Michaels).


Step 3: I applied 2 coats of the color paint (Behr 500D - Jamaica Bay, Matte) to the desk and drawers - I didn't bother with a primer.

Step 4: There are so many methods to distressing furniture. I googled all different kinds of ways and was a little nervous to do it. I just started sanding...A LOT of sanding. The edges are sanded the most with a few spots here and there. I actually ended up getting ahead of myself and sanding too much...so i went back and repainted a few spots.
Step 5: I wanted the distress marks to be dark but the wood underneath is a light color. I used a medium tone wood stain for pine to darken the exposed wood marks. I used a small paint brush and CAREFULLY applied only to the wood and then IMMEDIATELY wiped it off with a damp cloth. The stain didn't completely come off the paint so it gives it a "dirty" look. The darker you want the wood, the longer you leave the stain on. I had to revisit a couple areas where the stain didn't soak in enough.
 Step 6: Find some cute knobs/handles (mine are from Anthropology, $8ea.)
 Step 7: Line the drawers with cute fabric or scrapbook paper. I found this fabric in the clearance section at Fabricland :) I love deals!
AFTER
2 comments:
LOVE!LOVE!LOVE!
it turned out super cute!
Post a Comment